Figure-rise 6 Double Chaser
I. Did not intend to build another model kit. At all. Least of all another "legit Bandai" model kit, Tiger & Bunny or otherwise, but. I happened to see they were being sold at a decent discount after I'd watched the second Tiger & Bunny series, and how could I resist? I have loved this vehicle for ages. ...So I also bought one for my partner to share the suffering, as we did with the series to begin with.
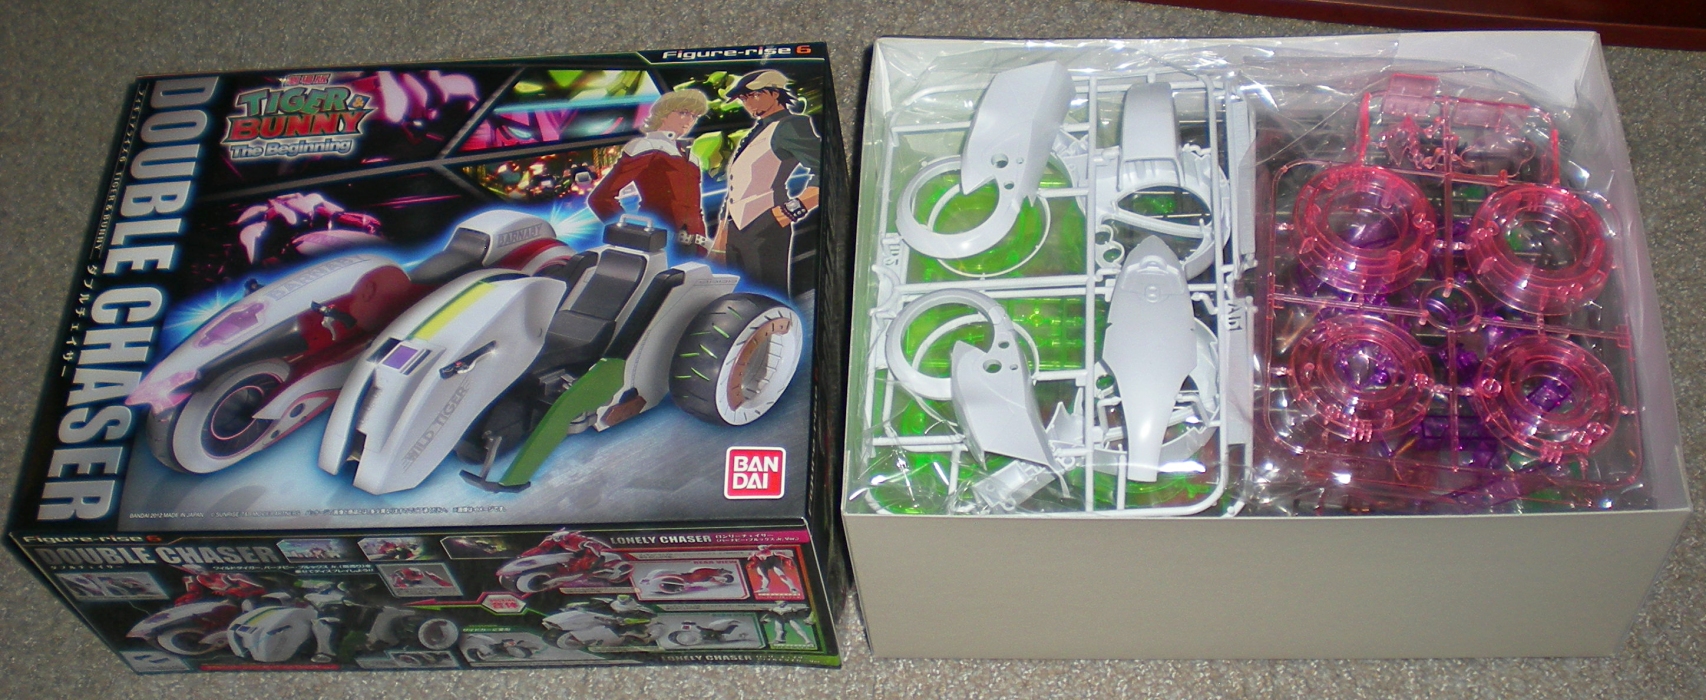
This is legitimately terrifying. But I had to peer into the abyss and figure out how much of a mistake I'd made.
A mistake. That was enough to know. But
it did look... a little easier than the MG Wild Tiger..?
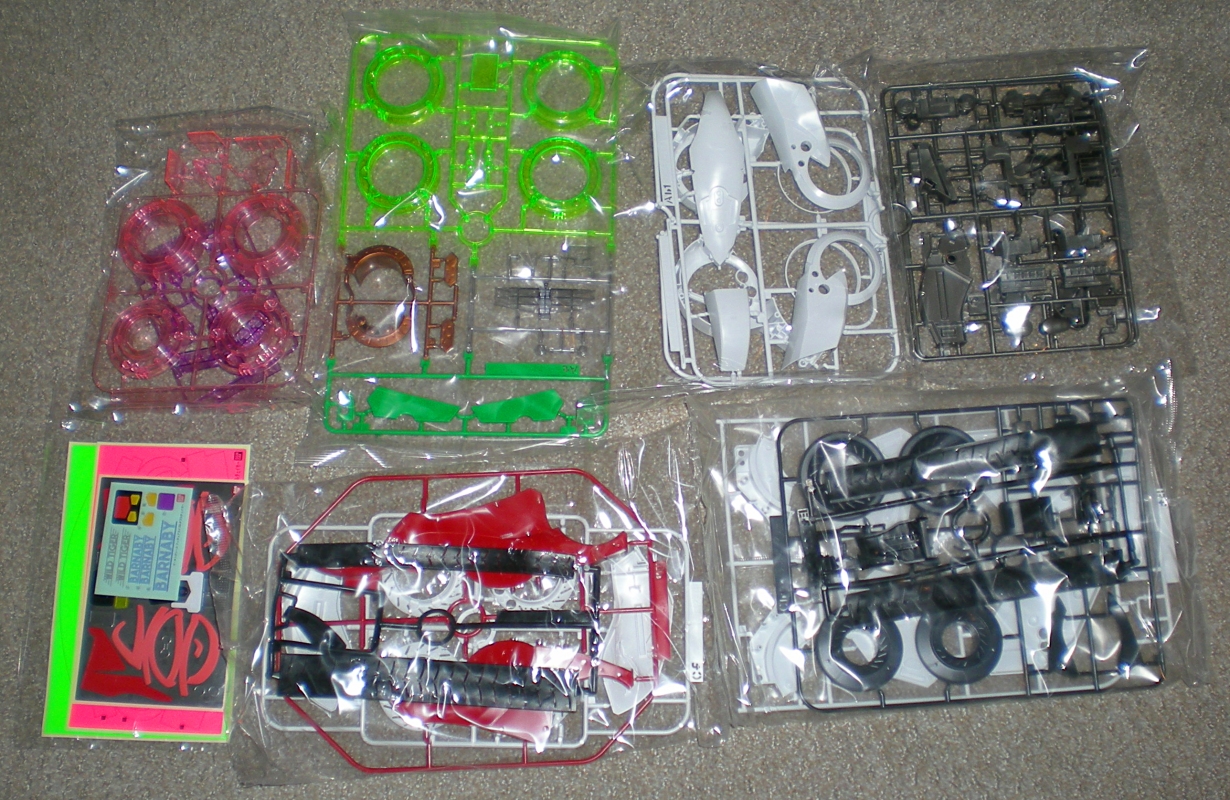
Somehow. Memory fuzzy and full of agony. I did carefully go
over everything and decided that maybe I would just go ahead and get
started in the afternoon of Christmas Eve.
...I was done with the basic build of both bikes before I went to bed that night. And no, I have no idea how... or why... But there was one minor mistake I'll be addressing soon. Point being, for now...

...I was done with the basic build of both bikes before I went to bed that night. And no, I have no idea how... or why... But there was one minor mistake I'll be addressing soon. Point being, for now...
Look at these gorgeous bikes.
Of course I loved the designs since I first laid eyes on them, and
loved them more when I found out the combined bike is the Double
Chaser, but the separated bikes are individually each a Lonely
Chaser. And of course... Tiger's bike transforms. More on that later.
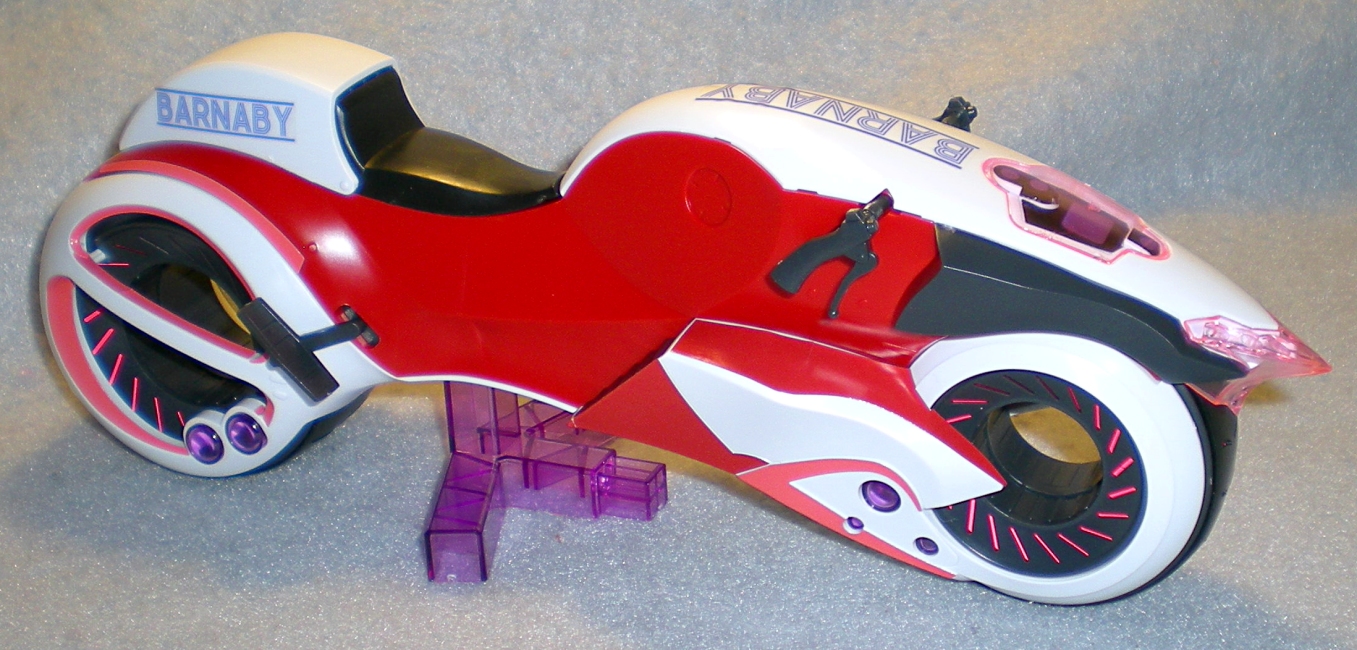
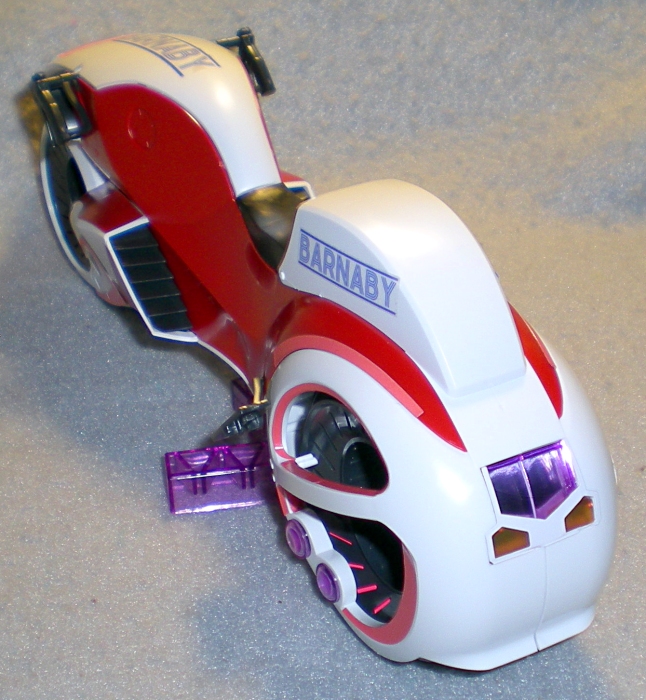
There aren't any moving parts to Bunny's bike, but there were so many stickers.
So many. ...Some of which wound up looking okay. Listen, I
could have painted it, or used a steadier hand, but I'm okay with what
I have brought into this world. It's still beautiful, and comes
with a violently (Barbie) magenta stand that allows the bike to either sit
upright or bank right or left.
The wheels are translucent pink plastic, and initially I'd thought it was a little ridiculous to put neon pink stickers on top of clear neon pink plastic, but... they really pop in photographs, so. Fine. Stickers.
The wheels are translucent pink plastic, and initially I'd thought it was a little ridiculous to put neon pink stickers on top of clear neon pink plastic, but... they really pop in photographs, so. Fine. Stickers.
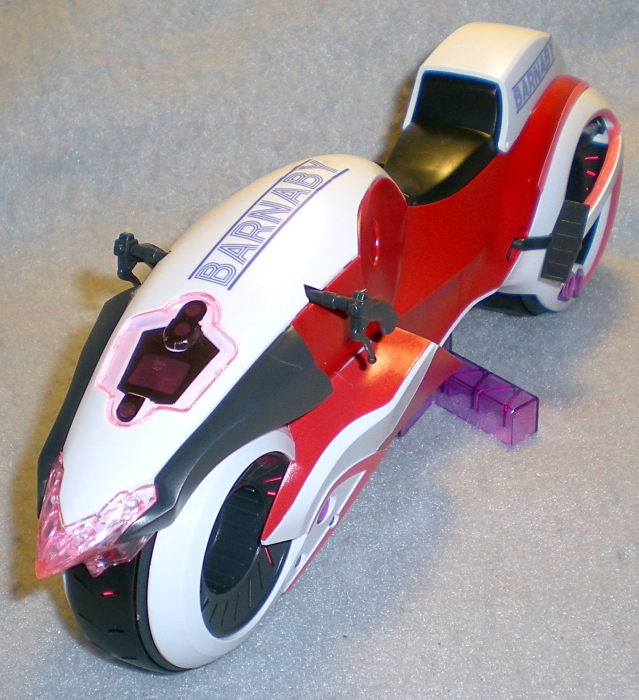
That damn little pink plastic cover on top of the
"control panel", though. Would not stay in place. Fit fine,
wouldn't stay. ...It stays now. Permanently enough, anyway.
Bike butt shot. Those tail light stickers...
took me a bit to figure out what the instructions were actually
saying. I was successful! Eventually.
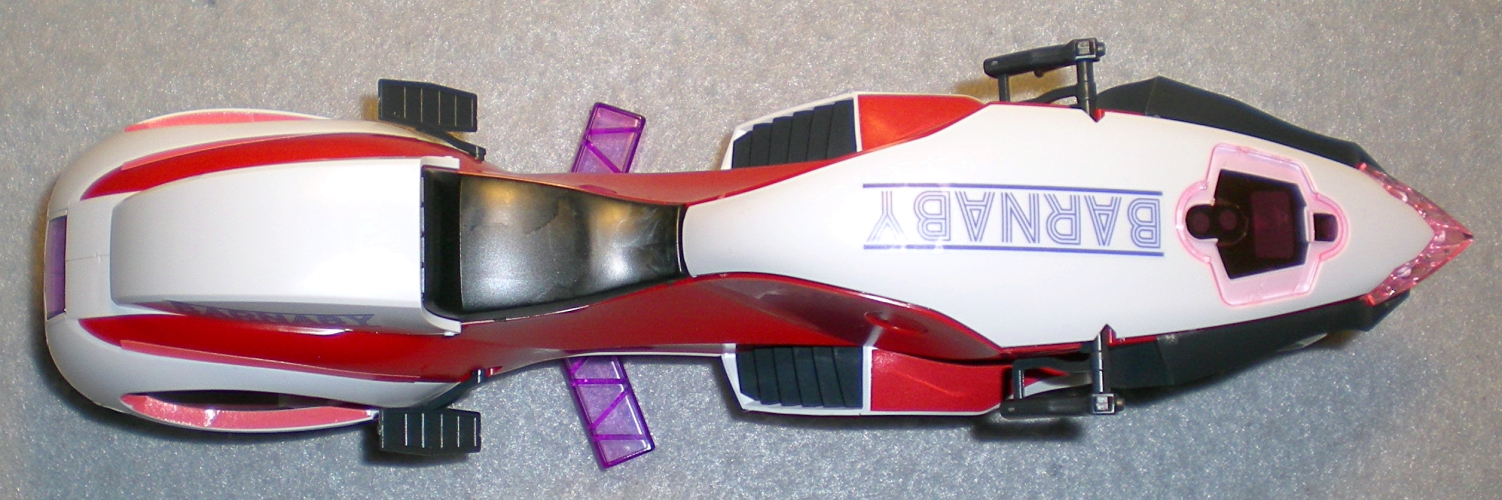
And it is just. Ridiculously gorgeous. Very sturdy too, which also surprised me.
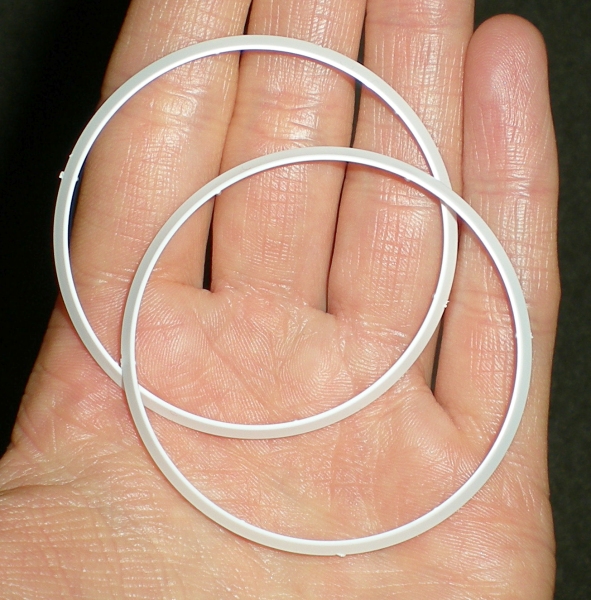
...Then I was going through all of the runners after
the build to make sure I'd cut everything off the plastic, and.
Oops. Technically these just provide a tiny white stripe on
either side of the back wheel. There's no other purpose, no
function. I was not about to take the bike apart just for these
things, so I'll find another use for them.
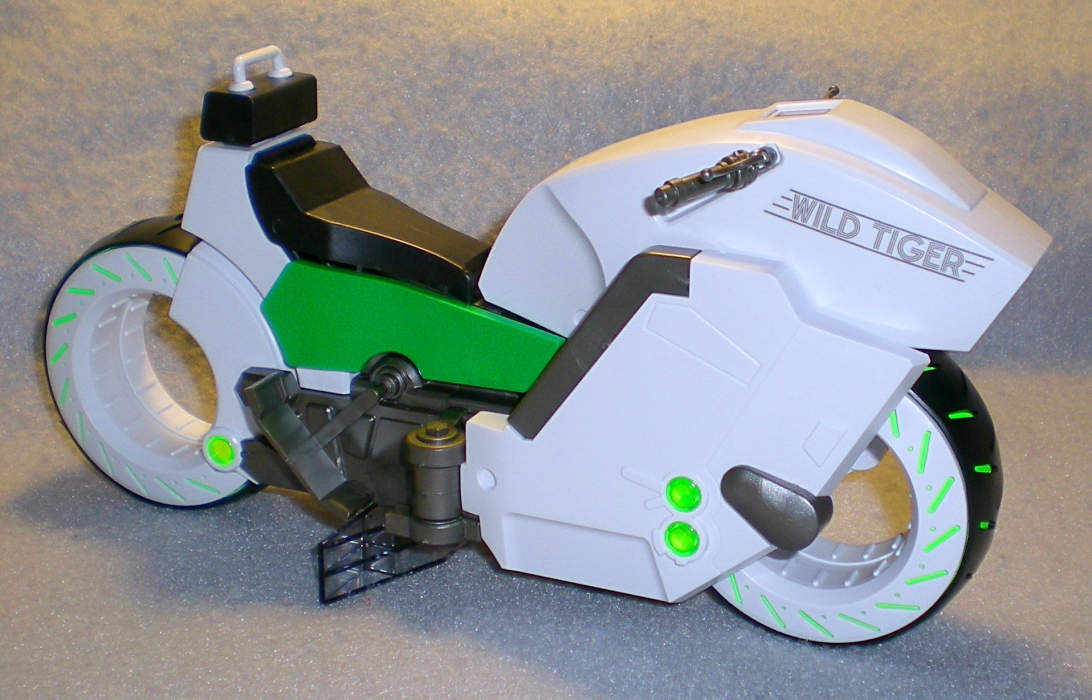
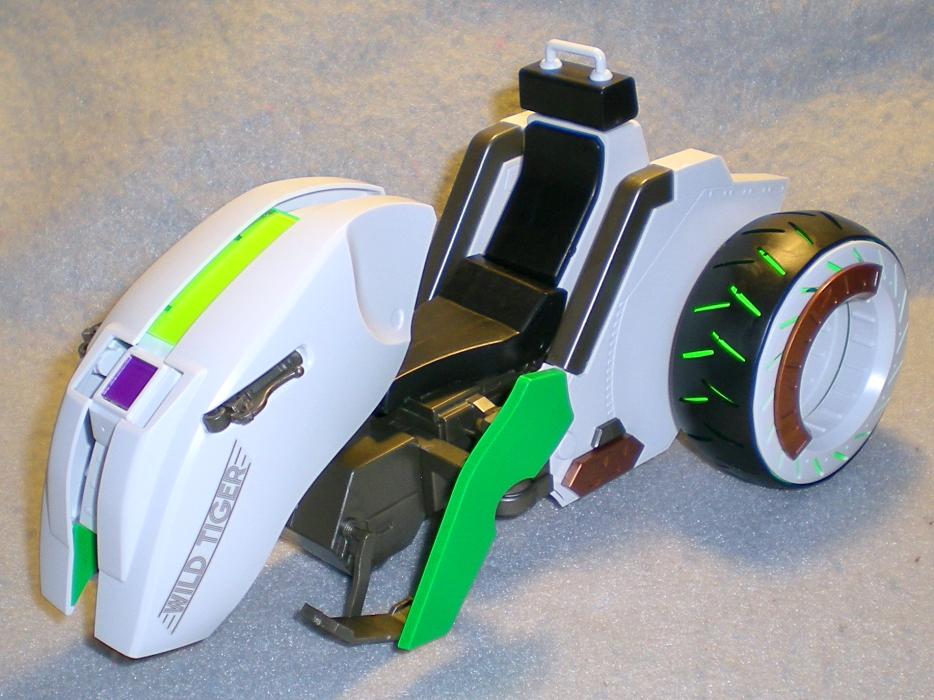
Now on to
what I had a surprising amount of ease in putting together. I
love Tiger's bike too, very unique and aesthetically similar but also
very different. And it transforms!
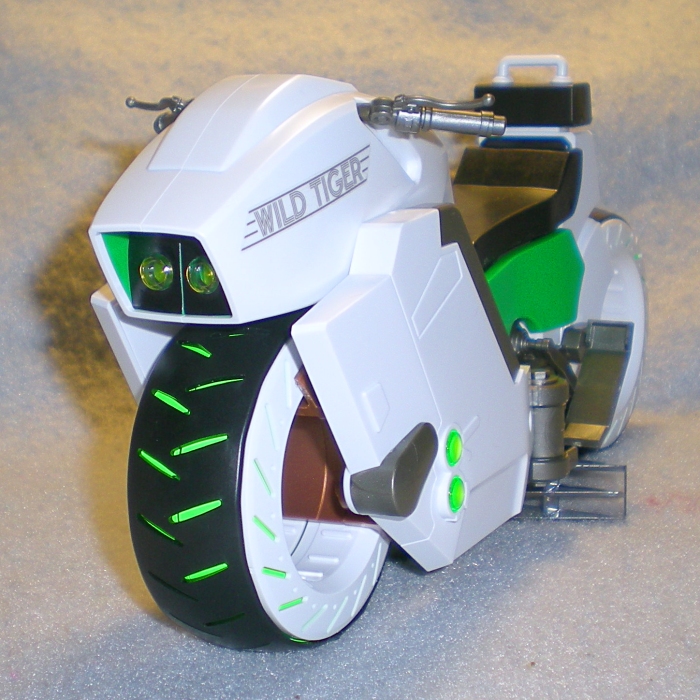
The headlights were more obviously yellow before I put the black stickers on the front, but... eh, whatever, it's fine. Beautiful and briiight. And comes with a different kind of stand that will also hold it upright or banked left or right.
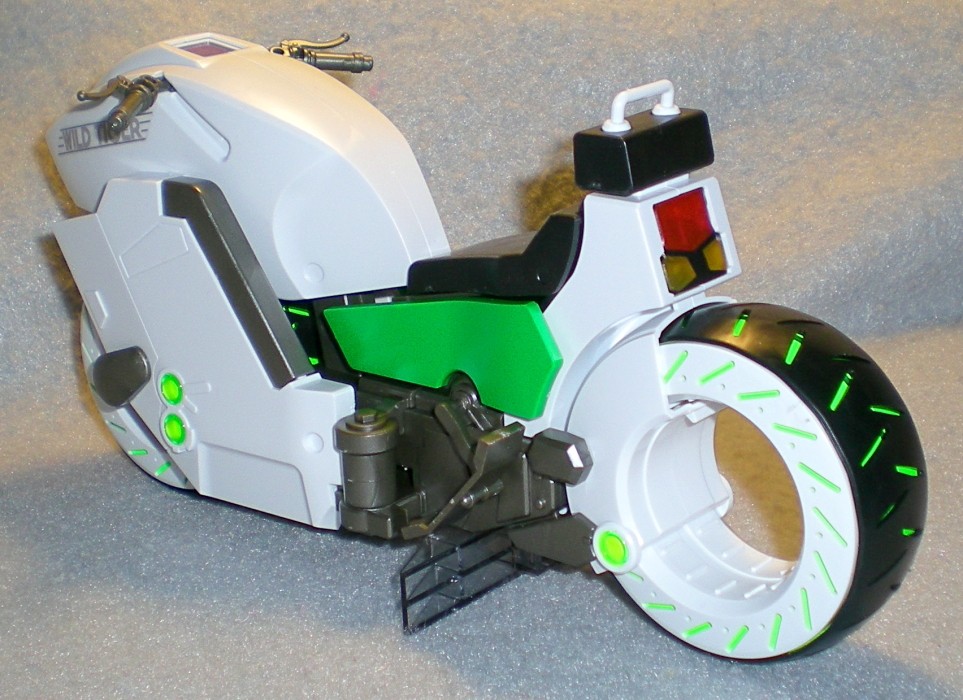
Bike butt
shot number two. ...This tail light was both easier and harder to
figure out. No I don't want to talk about it, but it all worked
out and that's the only important thing.
No idea why
the little clear window over the control panel fit perfectly fine this
time. Probably because there was no curve to it. Plastic
can be... odd. Sometimes.
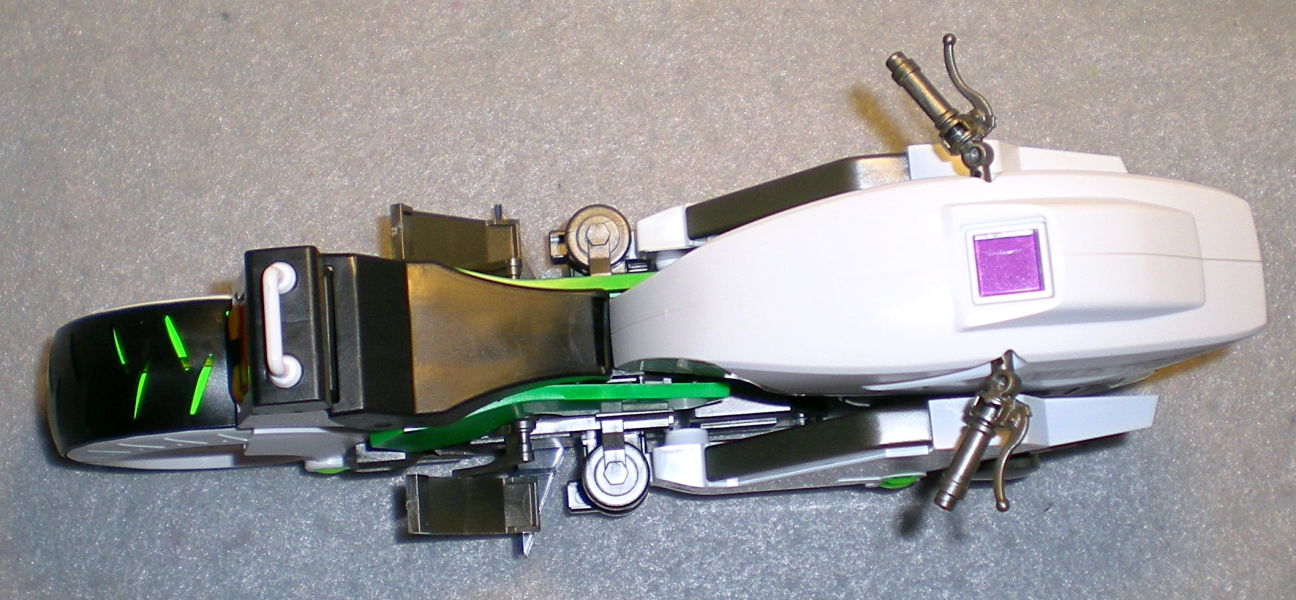
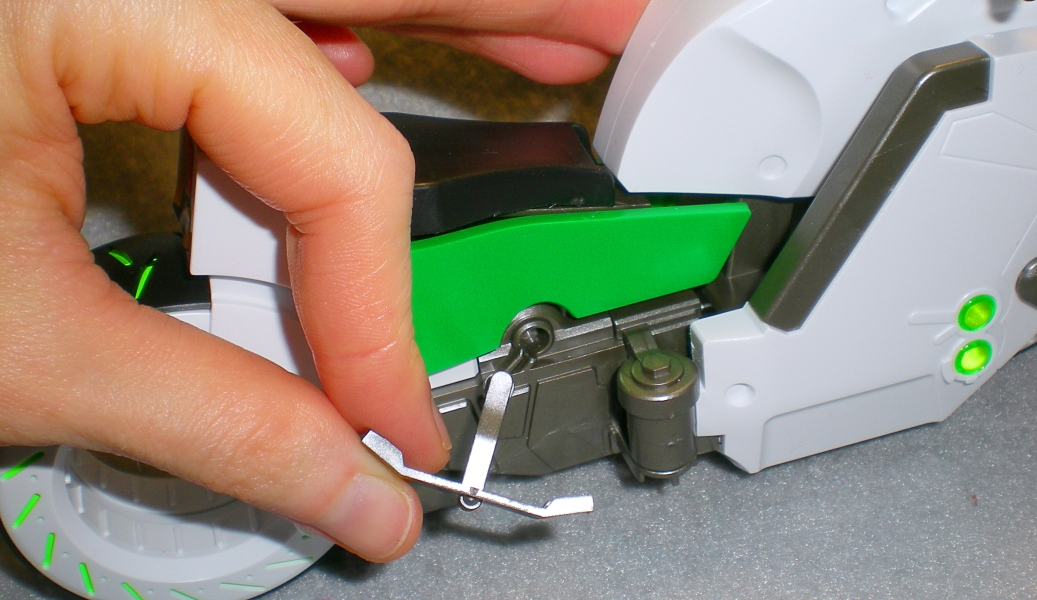
And now! Transformation steps! At the bottom of the bike is
this little plastic strip that keeps the little "wings" locked in
place. Well, you'll see. You just remove the bar to start,
and put it back in place at the end.

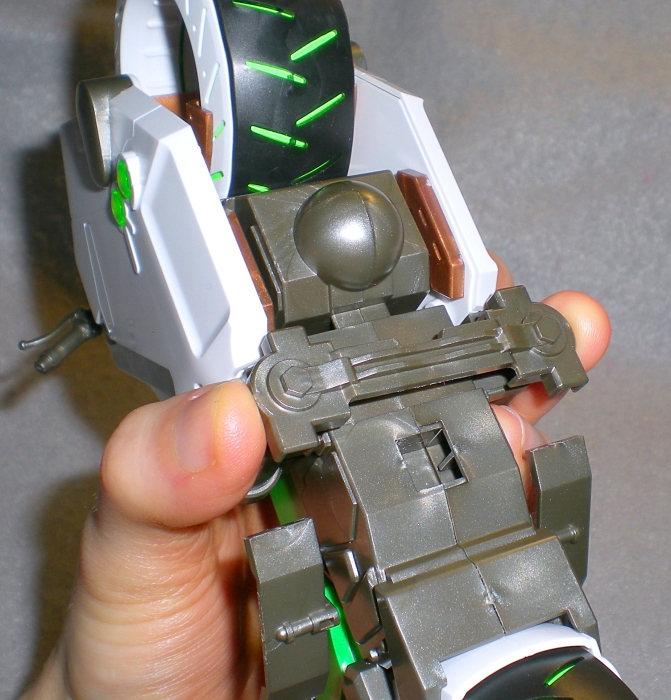
Hinge joints! Which is completely accurate if you've also
happened to watch the transformation in the anime series. Though
obviously there were some liberties taken with the fiddly bits, as we
shall see. Still... ...like one of my Japanese animes. ...I
am not ashamed.
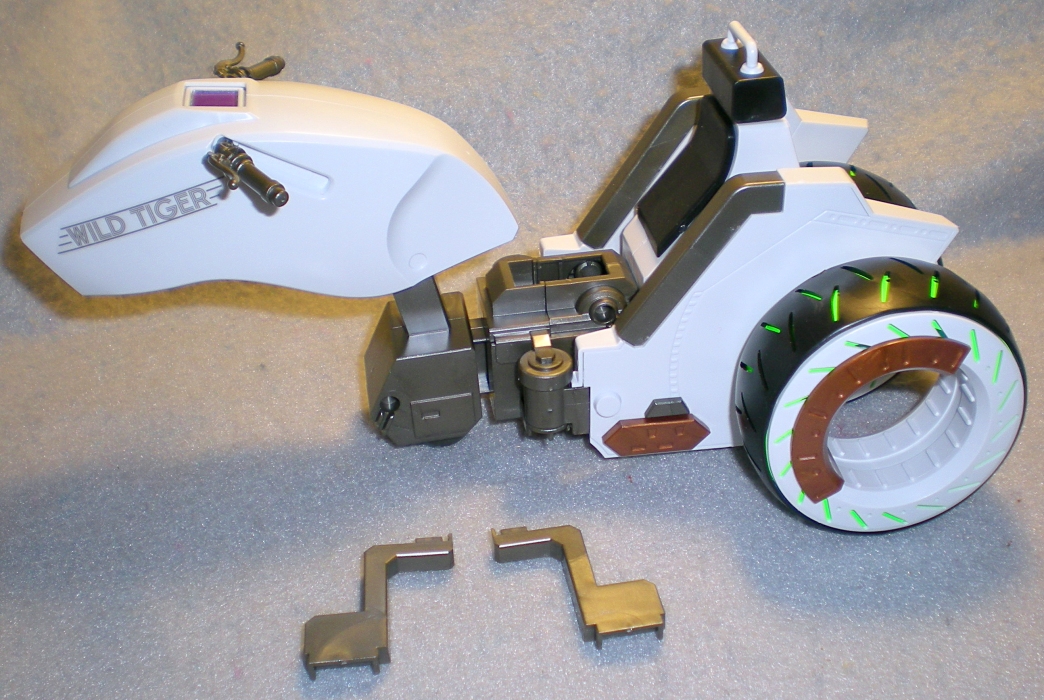
Of course, first you gotta remove the foot rests.
Then take this whole part right out and put only the rubber seat back
in its place. Which... is not anime-accurate or that would have
been a very odd transition.
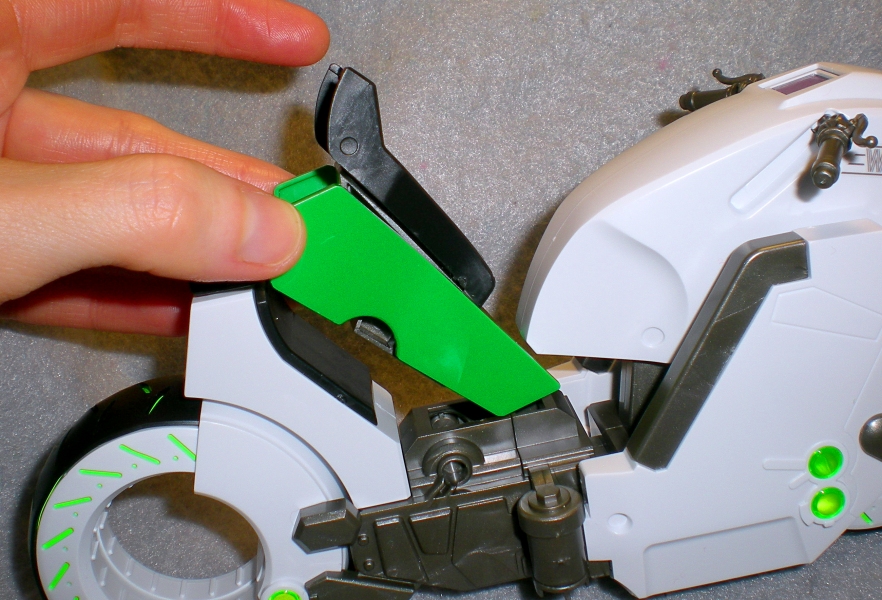
Now we get to the extra parts! And the bike looking extremely
weird. It'll make sense once you get these little tabs on either
side, really.
Then I thought to myself, why doesn't this look completely right?
Luckily a glance at the box art reminded me that the front splits open for style reasons,
but actually getting that to happen the first time was...
challenging. Boy do you learn quickly what plastic bits need a
tiny bit of sanding. Or just a little more wear. We'll
see. Anyway, you... carefully pull these bits off, everything
looks weird, and then turn the little gray... things. On their
other side. ...I am good at this instruction thing. Put
them back on. Stylishly. That'll do.
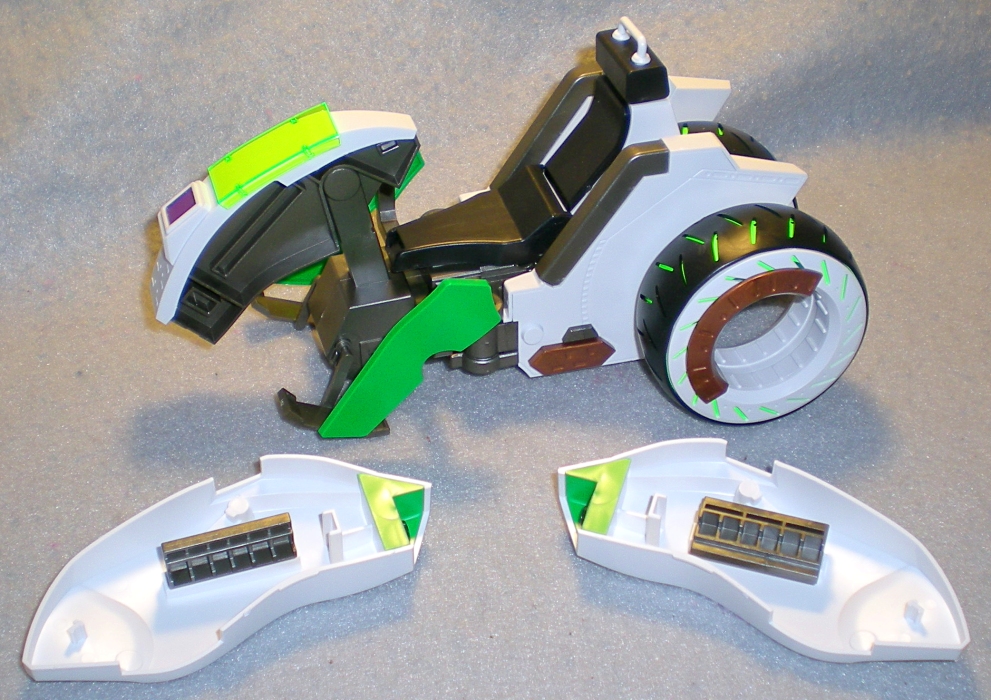
Replace the bike handles with the "folded in" versions, and done!
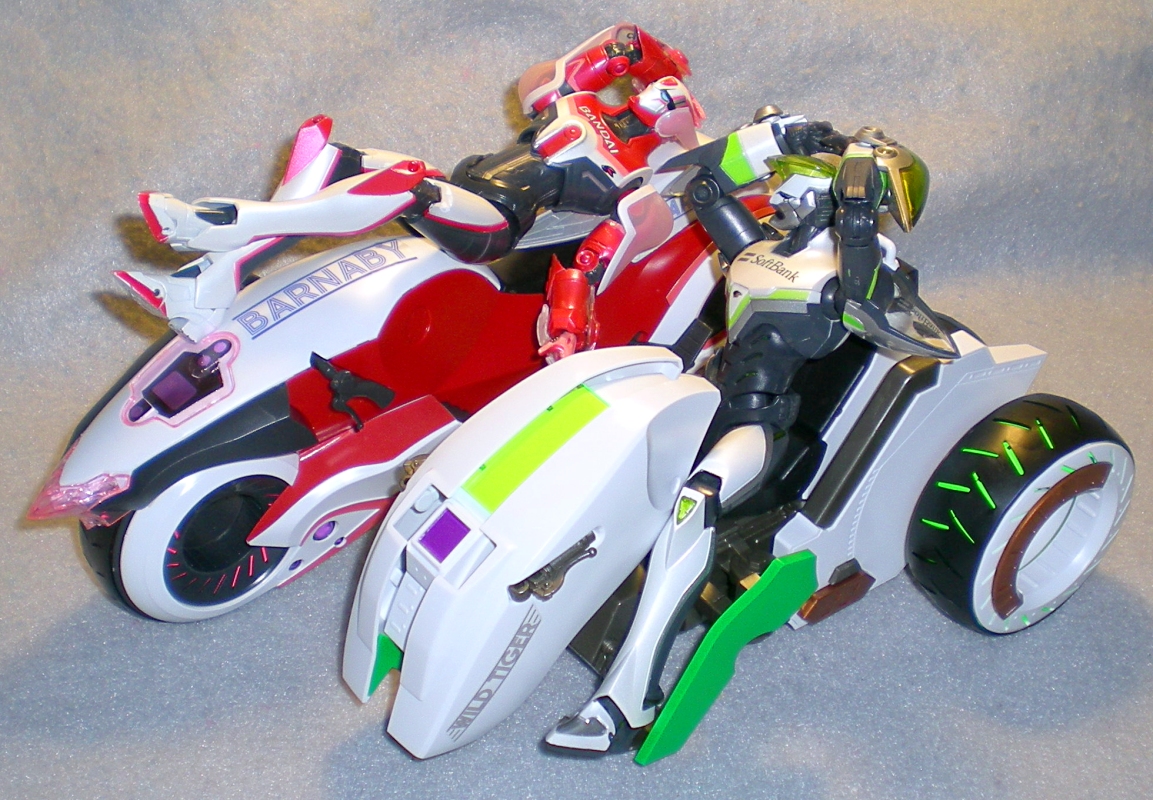
Sidecar of the highest order, etc. The sheer amount of things to do
in order to transform this bike makes up for anything thought lacking
on Bunny's bike... which of course is nothing, because there is no lack
of anything on either. Obviously.

Another little extra fiddly bit is the connector between bike and
sidecar, which is also pretty self-explanatory. If slightly
concerning, there being only one connection point. We'll just
ignore that.
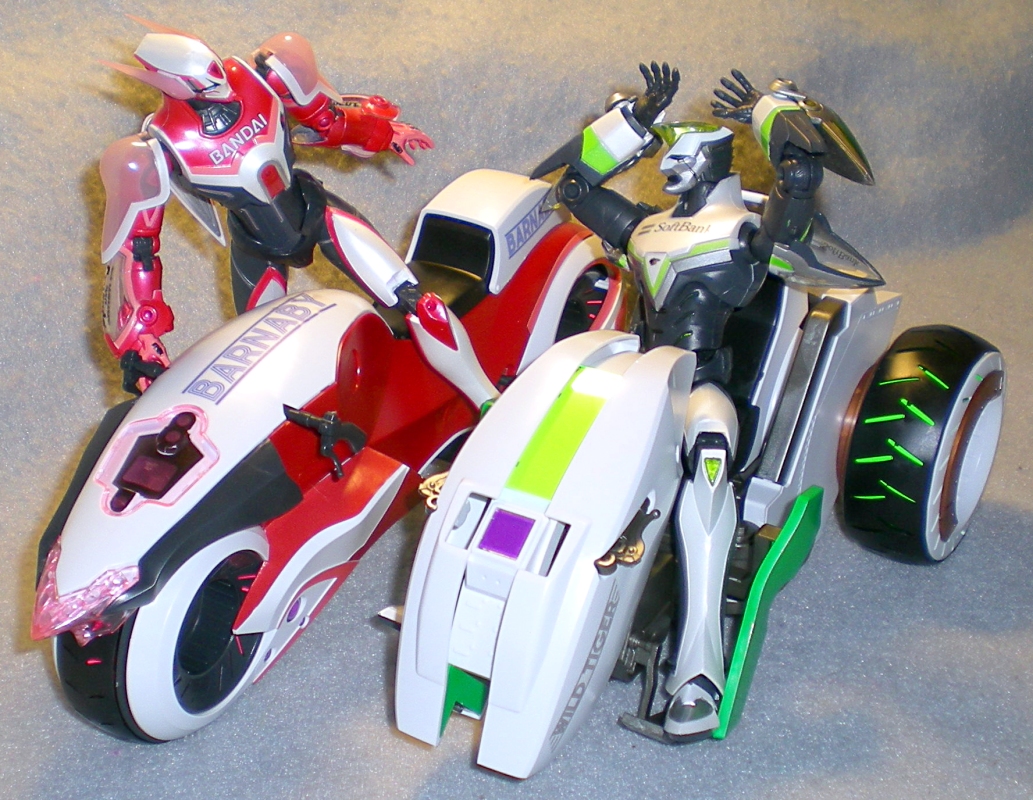
And so, some years later, at last they have their bike. Even if I
did have to build it myself Don't wreck it this time guys. Or let it fall into the ocean, I guess.
If it's not already completely obvious, I am really happy with this. Granted I'm not... super big on the whole model building hobby, though I have a good deal of respect for these kits. I've obviously picked up a few things regarding the "language" of the diagrams and the order of parts. ...I only missed one thing, alright. I'm not even sure how. The result is much more solid than expected, and even as someone who isn't the most careful about stickers, it really did turn out beautifully.
If it's not already completely obvious, I am really happy with this. Granted I'm not... super big on the whole model building hobby, though I have a good deal of respect for these kits. I've obviously picked up a few things regarding the "language" of the diagrams and the order of parts. ...I only missed one thing, alright. I'm not even sure how. The result is much more solid than expected, and even as someone who isn't the most careful about stickers, it really did turn out beautifully.
Plus, the guys look happy.